T.R. Maxwell
Two plugs can look alike and still connect a microphone, speaker, and push-to-talk switch to different contacts. That is why an earpiece used with a portable radio must match the specific radio model as well as fit its socket. A careful match helps the wearer hear incoming calls and, when needed, reply through the accessory.
Earpiece for Radio Use: Start With the Connection
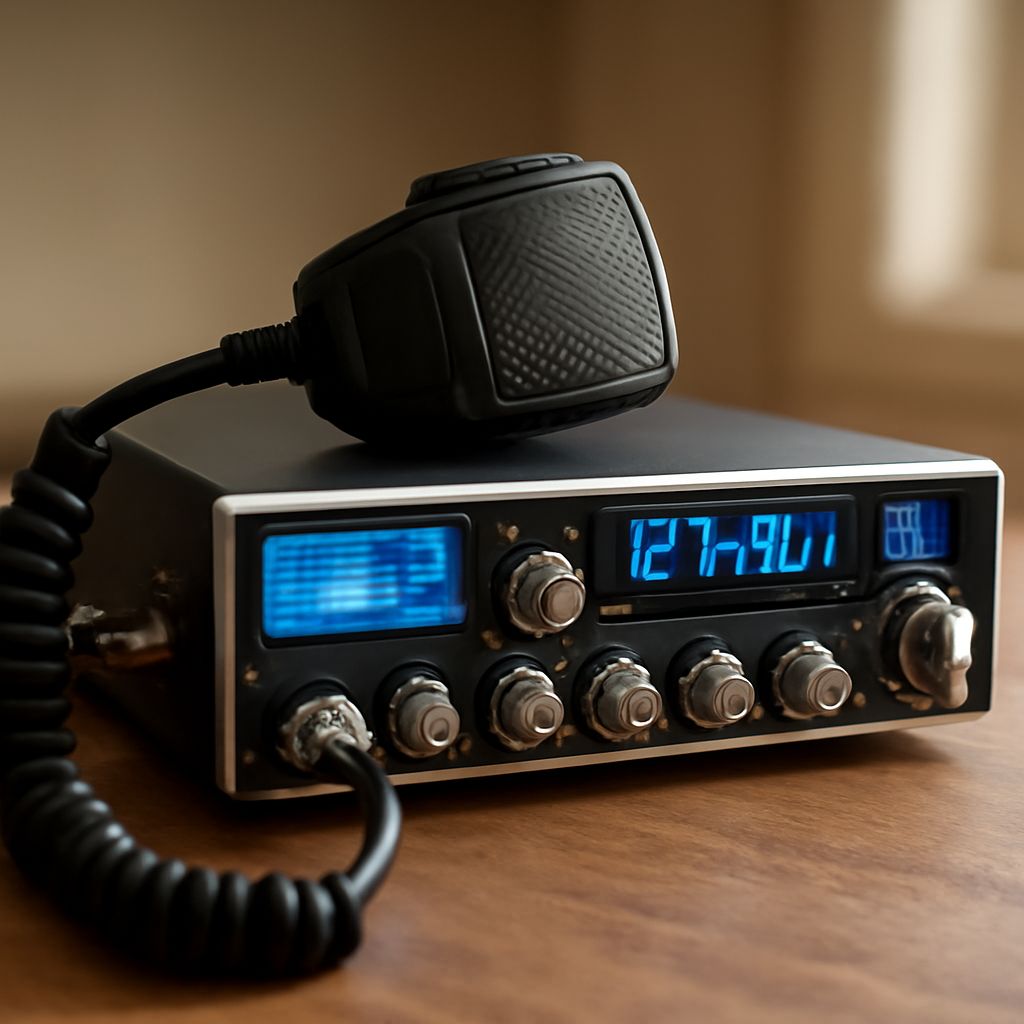
The connector is the first filter when choosing an earpiece for radio communication. Some portable radios use a single round plug, some use two pins, and others use a shaped side connector secured by a screw. A compatible accessory must fit the radio’s physical port, including the spacing and depth of any pins and the shape of the housing.
Physical fit is only part of the check. Pinout describes which electrical contact carries each function, such as speaker audio, microphone audio, or the push-to-talk signal. Two connectors of the same size may assign those functions differently. A plug that goes in easily can therefore produce no audio or fail to transmit; forcing it may damage the socket.
Use the full radio model number and the accessory’s part number when checking a manufacturer’s compatibility list. For example, Kenwood’s ProTalk catalog lists the KHS-27A D-ring earpiece with a push-to-talk microphone as compatible with the NX-P1202AVK and NX-P1302AUK. That example does not establish compatibility with every Kenwood radio: the exact model and accessory remain the relevant pair.
An adapter adds another connection to check. It must be specified for both the radio and the intended accessory, with the required audio and microphone functions supported. A simple change in plug size does not establish that the wiring matches.
Select the Wearing Style
The best radio earpiece for a shift is one that stays comfortable while allowing the wearer to hear instructions. Common arrangements include:
- Earbud: A small tip sits in the ear. Different tip sizes can improve fit, but the wearer should be able to remove it easily for cleaning.
- D-ring or ear hook: A support rests around the ear and keeps the speaker in place. This can appeal to someone who prefers less material inside the ear, though glasses or other headwear may affect the fit.
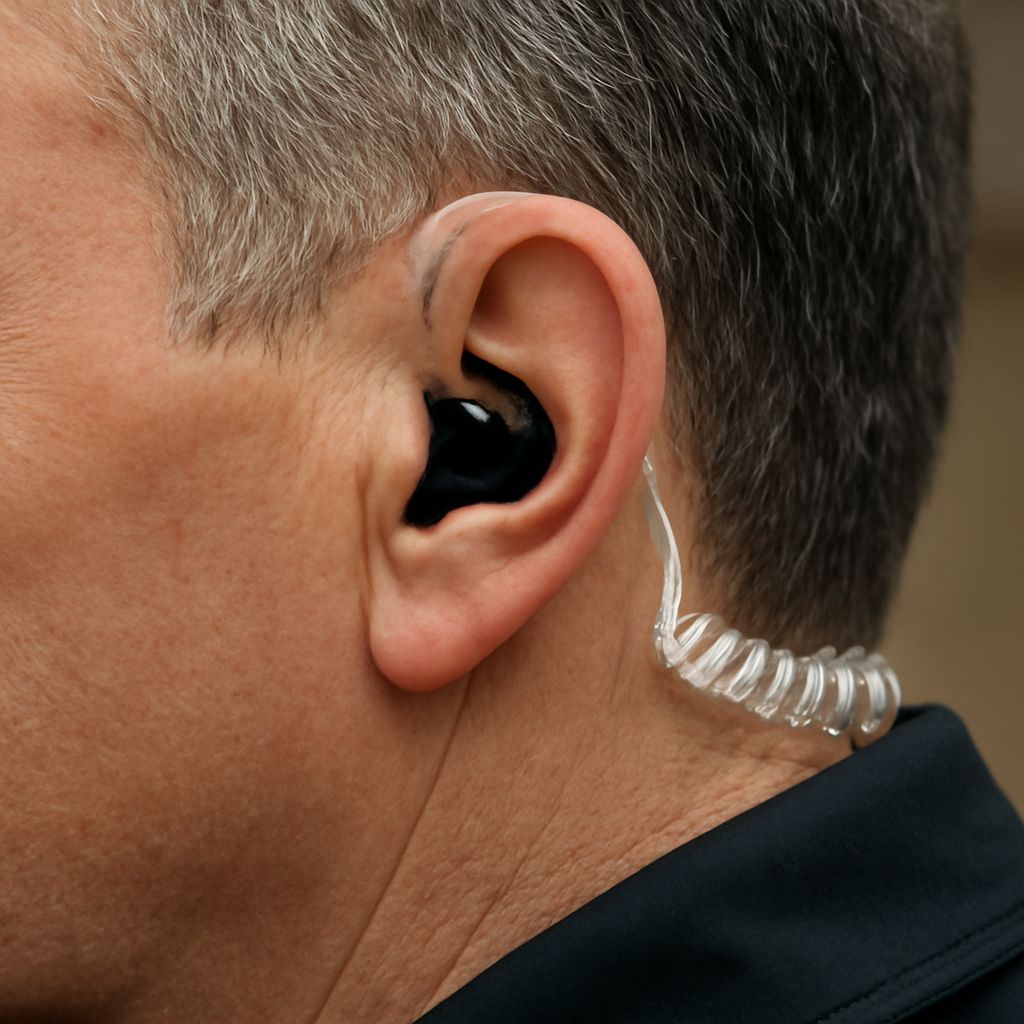
- Acoustic tube: A clear tube carries sound from a small speaker to an eartip. Some models have replaceable tubes or tips, which can make maintenance easier.
- Swivel or lightweight headset: An adjustable support can help position the speaker for a longer shift; check how it sits with the equipment worn on the job.
A good fit should hold during normal movement without pressure that becomes distracting. An earpiece radio users can adjust for the left or right ear may also make it easier to accommodate glasses or a preferred listening side. In a noisy workplace, check whether the equipment is specifically rated for the required hearing protection; an ordinary earpiece alone should not be treated as hearing protection.
Decide How to Speak
A receive-only earphone lets the wearer hear calls while using the radio’s own microphone and transmit button. It can be a practical choice when occasional replies are enough and the radio remains easy to reach. Some receive-only accessories connect to a separate speaker microphone rather than directly to the radio, so the complete connection path matters.
A headset with an inline microphone and push-to-talk, often abbreviated PTT, places a button on the cable. The wearer presses it to transmit and releases it to listen. Other arrangements separate the microphone and button, giving more flexibility in where each is clipped. Motorola’s accessory descriptions illustrate both combined and separate microphone/PTT designs. Wire-count labels vary between products, so the actual components deserve a closer look than the number alone.
A boom microphone sits nearer the mouth, while a clip-on microphone can be positioned on clothing. In either case, consider cable length, where the button will sit, and whether a gloved hand can operate it. Voice-activated transmission, if offered, also requires support and appropriate settings on the radio.
Check Before Ordering
First, find the exact model and any relevant variant on the radio’s label. Next, match that model to the manufacturer’s accessory list and check whether the listed part is receive-only or includes a microphone and PTT. Confirm any adapter, connector, and cable length, then choose a wearing style suited to the shift and other equipment.
After connecting the selected earphone to the radio according to its instructions, start at a low volume and test reception and transmission with a colleague on the intended channel. Clear incoming speech, an accessible button, and a comfortable fit together show whether the chosen accessory meets the work setting.